FLUX Beambox II Review: The Polished 55W CO2 Laser
The most polished CO2 laser I've used, and you pay for that polish. It makes the most sense if you run a business, do production work, or value your time more than tinkering with the machine.
Check price at FLUXOn this page
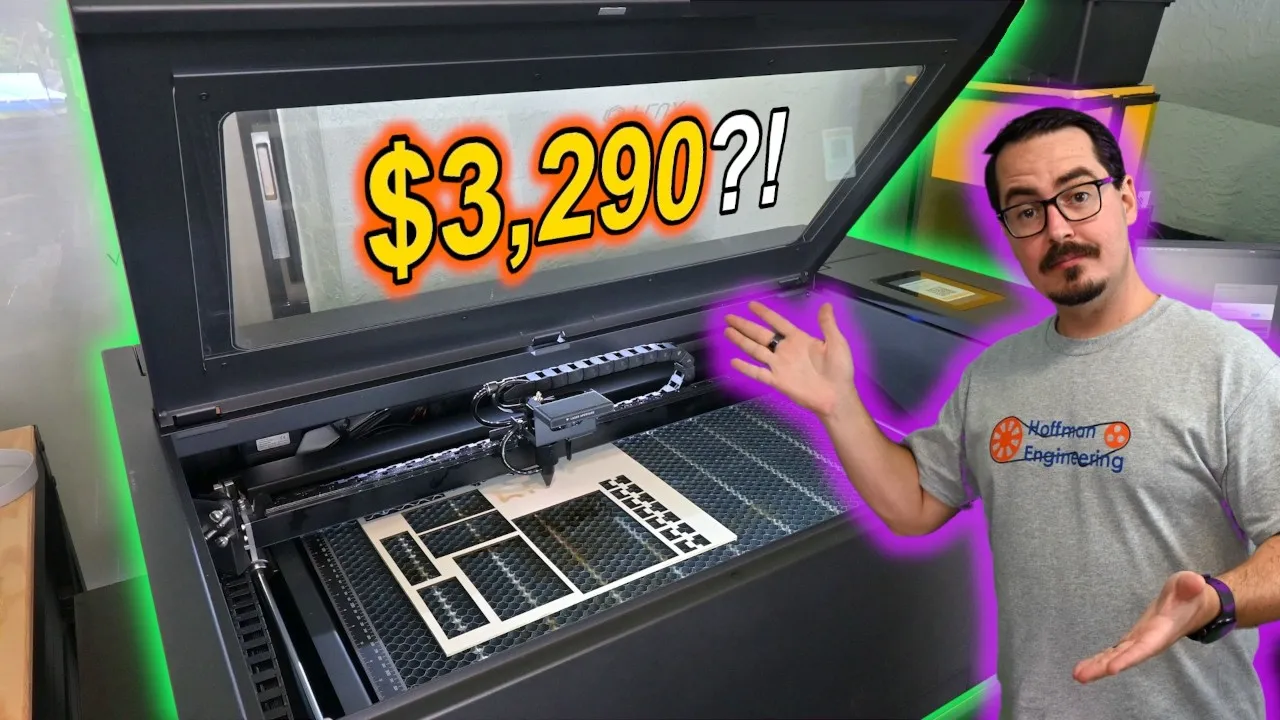
The FLUX Beambox II is a 55W enclosed CO2 laser that cut 3mm birch plywood in a single pass at only 15 percent power. After fifty jobs across five materials over a month, raw power was rarely the limiting factor. So this FLUX Beambox II review looks at what the premium price buys you: an hour from sealed box to finished cut, a polished workflow, and one LightBurn limitation that cost me two days to diagnose.
What Is the FLUX Beambox II?
The Beambox II is a fully enclosed CO2 laser. A sealed glass tube of gas in the back fires infrared light, which bounces off a series of mirrors and gets focused through a lens onto your material.
That’s a different animal from the blue diode lasers I usually review. A blue diode can’t directly cut clear acrylic, and engraving bare glass with one is difficult. The Beambox II does both directly.
FLUX rates it at 55 watts. The work area is 600 x 375mm (23.6 x 14.8 inches), the rated maximum speed is 900mm/s, resolution goes up to 1000 DPI, and the machine weighs 107 pounds.
The number to remember is fifteen percent. That’s the power I used to cut 3mm plywood. For most of the materials I work with, I wasn’t close to the limits of this machine. The power is there when you need it, though.
My unit is the base machine with the honeycomb platform.
Beambox II Setup: Box to First Cut in an Hour
You’ll want two people. A 107 pound laser isn’t something to lift alone.
The good news is that it arrives fully assembled and well packed. Power it on and the touchscreen walks you through setup. You open the tube cover in the back, fill the reservoir with distilled water, and the pumps run until the cooling loop is full. The reservoir is small, only about 400mL. I never had the tube overheat, and there are temperature sensors to warn you if it does.
Then you attach the vent hose, plug the included WiFi antenna into the USB port on the side, and the machine runs its self checks: homing, the flame sensor and mirror alignment.
Mirror alignment is the part I always dread on a CO2 laser, because shipping vibration can knock the mirrors out. FLUX has you put tape over the nozzle and fire from several positions. If the burn marks are off center, the touchscreen walks you through the adjustment. Mine were dead center, so I didn’t touch anything.
From a sealed box to my first finished cut took about an hour, including filling the water system and installing the software.
Safety, the Flame Sensor and Ventilation
This is a Class 1 enclosed machine, so you can run it without additional safety goggles. Opening the lid stops the laser, and there’s an emergency stop button on the right side.
The one safety feature that gave me trouble was the flame sensor. It looks for infrared light from a flame, and sunlight is full of infrared too. My laser sits in a covered patio workshop, and even under a roof there was enough daylight to confuse it. My first self check failed, and an early cut stopped partway through when the sensor tripped with no fire.
There are three sensitivity levels, but I eventually turned mine off. FLUX warns you about sunlight during setup and lets you disable the sensor right there. In a garage or spare room, I’d leave it on. Next to a large window or in an outdoor space like mine, know that this can happen.
For ventilation, I run the included hose straight outside, and the exhaust fan clears fumes from the machine well. But that isn’t filtering. It only moves the fumes out of the building.
Autofocus and the Head-Mounted Camera
Autofocus is easy. Move the laser head over your material, lower the magnetic probe and hit autofocus. The bed rises until the probe touches the surface, then backs off to the correct focal distance. It takes a couple of seconds.
The probe then snaps back onto the top of the laser head with a magnet, if you remember to put it there. I forgot more times than I’d like to admit, and the machine never warns you. On flat material I never came close to hitting anything, but I’d like to see a warning.
The camera is mounted on the laser head instead of the lid. The machine takes several pictures across the work area and stitches them into one preview. That’s less convenient than a single overhead camera, but I think it gives better accuracy across the whole bed.
In practice, you drop material on the bed, scan it, and position your design on top of the image. I used this constantly with odd scraps and offcuts that would have ended up in the trash. Placement was within less than a millimeter of where I put the design.
Software: Beam Studio and LightBurn
FLUX’s own software is Beam Studio. It’s free, connects over WiFi or USB, and it’s where I think most Beambox II owners should start. There’s a long list of built-in material profiles, so you pick a material and thickness and work from there instead of guessing at power and speed.
I found one limitation. Beam Studio wouldn’t fill the lettering in one of my SVG files because of a broken path, and it doesn’t have tools for repairing geometry. I fixed the path in another program, reimported it, and it worked.
LightBurn is supported too. FLUX provides a Beambox II device profile with the correct settings, so setup is easy.
The LightBurn Streaming Limitation
This one cost me two days. Slate coasters with an image background kept failing at random points in LightBurn, even though normal high-speed jobs ran perfectly.
After working with FLUX, I learned the problem wasn’t engraving speed. It was command rate. Dense dithered images can generate more G-code commands than the Beambox II controller can process through LightBurn’s USB interface. The machine can move faster than it can take in commands.
FLUX says this is a known limitation and that Ethernet support for LightBurn is coming in a future firmware update, which would get around it.
Until then, the workaround is easy. I use LightBurn for vector work and one-bit engraving, and Beam Studio for dense photos and gradients. The same kind of job that failed through LightBurn ran correctly through Beam Studio.
It’s a strange limitation, and there’s no warning that it exists until you hit it. Once you know, it’s easy to work around.
Optional Accessories
A few add-ons expand what the Beambox II can do:
- The chuck rotary starts at $299 and handles round objects like tumblers.
- The auto feeder starts at $199 and feeds material through the machine for batch work or pieces longer than the work area.
- A passthrough is sold separately for $99.
FLUX sent the rotary and auto feeder along with the laser, but I haven’t tested them enough to judge them yet. They’re getting their own video.
Noise
I measured 69 decibels from a few feet away. No single part is loud on its own. The air assist compressor, water pump and motors add up.
It isn’t uncomfortable to be around, but you know it’s running. In a workshop that’s fine. In an office or shared room, it could get annoying over a long job.
Cutting and Engraving Wood
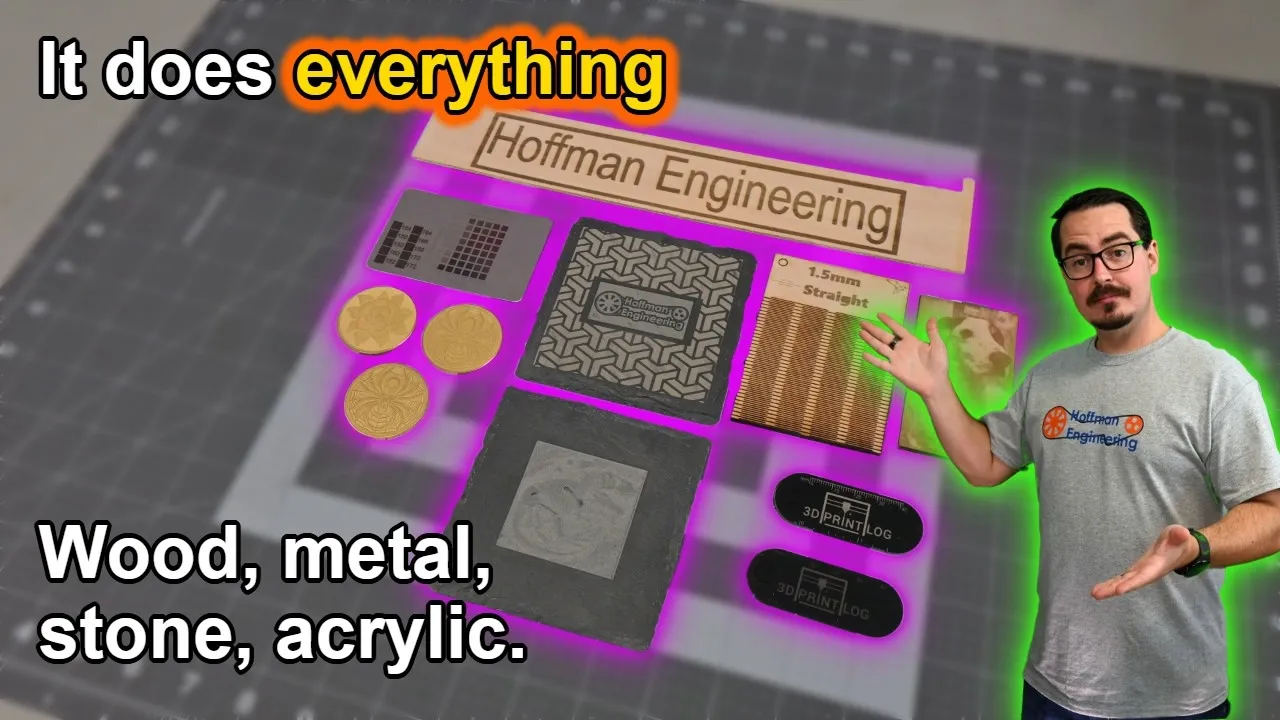
This CO2 laser chews through wood. I cut 3mm birch plywood at 15mm/s and 15 percent power in a single pass. It handles much thicker stock too. Three-quarter inch pine took 4 passes at 10mm/s and 90 percent power, and the air assist kept flames to a minimum on those deep cuts.
My kerf offset measured 0.03mm, which is very tight for a laser.
Engraving was clean, with even depth across the design and very little soot darkening the wood around it.
One thing to know: CO2 lasers tend to leave cleaner, lighter engravings on wood, so image engravings can have less contrast than they do from a diode laser. Beam Studio has a depth mode that helps here. You import a grayscale depth map and it engraves the darker parts deeper. That gave a great 3D effect on a set of fossil coasters.
Acrylic, Including Clear
CO2 lasers are made for acrylic. I engraved at 500mm/s and 13 percent power, then cut 3mm acrylic at 10mm/s and 55 percent power in a single pass.
The bigger deal is clear acrylic. A blue diode’s visible light passes straight through clear material, but acrylic absorbs the infrared wavelength of a CO2 laser. So clear and colored sheets both cut cleanly.
I love edge-lit acrylic signs, and the Beambox II’s consistent engraving made for a great one.
Leather, Slate and Glass
Three more materials, and all three worked on the first try.
Leather (300mm/s, 30 percent power): the bracelet came out clean with almost no darkening along the edges. The built-in air assist moved the smoke away well.
Slate (500mm/s, 45 percent power): this coaster is one of the best results I’ve had from any laser, once I worked around the LightBurn limitation and switched the background image to threshold mode.
Glass (150mm/s, 30 percent power): a clean frosted finish, without the uneven chipping I’ve seen on some other machines.
Pricing and Long-Term Costs
When I recorded the video, the bare Beambox II was $3,290, the LightBurn Core bundle was $3,389 and the Pro bundle was $3,489. As I write this, FLUX has them on sale at $2,699, $2,798 and $2,898, with the old prices shown as the regular ones.
I’d take the Core bundle. It’s $99 more than the bare machine, which is less than buying a LightBurn license separately.
There are ownership costs to plan for too. Unlike a diode module, the CO2 tube is a consumable. FLUX lists an expected tube life of roughly six to twelve months under normal use, and the machine has a twelve-month limited warranty. How fast you wear out a tube depends on how much you use the machine and how hard you run it, but replacement tubes belong in your budget.
Verdict: Should You Buy the FLUX Beambox II?
After a month with it, the FLUX Beambox II is the most polished CO2 laser I’ve used. The camera preview, autofocus, built-in material profiles and guided setup make it easy to get good results without spending much time tuning the machine.
My biggest complaint is the controller limitation when streaming dense jobs from LightBurn, mostly because nothing tells you it exists until you run into it. The flame sensor also wasn’t reliable in my daylight-filled workshop. Beam Studio’s limited SVG tools and the missing probe warning are much smaller complaints.
But across fifty jobs, nothing broke, nothing loosened, and the mirrors never needed realignment.
That’s what I think you’re paying for. Raw power wasn’t the standout feature for most of my work. The experience was. I had it cutting in about an hour, then mostly stopped thinking about the laser and started thinking about what I wanted to make.
That convenience is expensive. But if you’re running a business, doing production work, or you value your time more than you value tinkering, the Beambox II makes a strong case for itself. I was impressed with the quality and the experience, and I can give it a great recommendation.
Check the latest price at FLUX
Pros and cons
✓ Pros
- Arrives fully assembled. Sealed box to first finished cut in about an hour
- Factory mirror alignment was dead center and never needed adjusting across fifty jobs
- Cut 3mm birch plywood in a single pass at 15mm/s and 15 percent power
- Cuts clear acrylic and engraves glass directly
- Head-mounted camera placed designs within less than a millimeter
- Autofocus takes a couple of seconds
- Beam Studio is free and has a long list of built-in material profiles
- Nothing broke or loosened across fifty jobs
✗ Cons
- Dense dithered image jobs fail when streamed from LightBurn over USB, with no warning that the limit exists
- Flame sensor gave false trips in a daylight-filled workshop
- Beam Studio has no tools to repair broken SVG paths
- No warning when you leave the autofocus probe lowered
- The CO2 tube is a consumable you'll need to budget for
- 69 dB could get annoying in an office or shared room over a long job
- Premium price
Specs
| Laser Power | 55W CO2 (rated) |
|---|---|
| Work Area | 600 x 375mm (23.6 x 14.8 in) |
| Rated Max Speed | 900mm/s |
| Resolution | Up to 1000 DPI |
| Kerf Offset (tested) | 0.03mm in birch plywood |
| Focus | Autofocus with a magnetic probe |
| Camera | Mounted on the laser head, stitched preview |
| Air Assist | Built in |
| Cooling | Built-in water loop, about 400mL of distilled water |
| Enclosure | Class 1, lid interlock and emergency stop |
| Software | Beam Studio (free), LightBurn |
| Connectivity | WiFi, USB |
| Noise (measured) | 69 dB from a few feet away |
| Weight | 107 lbs |
Where to buy
- FLUX Beambox II 55W CO2 Laser Cutter$2,699 →
- Beambox II with LightBurn Core$2,798 →
- Beambox II with LightBurn Pro$2,898 →
- Beambox II Chuck Rotary Add-on$299 →
- Beambox II Auto Feeder Add-on$199 →
- Beambox II Passthrough & Open Bottom Add-on$99 →
Prices may have changed since this review.
FAQ
Is the FLUX Beambox II worth it?
It depends on what your time is worth. Raw power was rarely the limiting factor in my testing. What you're paying for is the experience, with guided setup, autofocus, a camera preview and built-in material profiles. If you run a business, do production work, or would rather make things than tune a machine, the Beambox II makes a strong case for itself.
Does the FLUX Beambox II work with LightBurn?
Yes. FLUX provides a Beambox II device profile, so setup is easy. The catch is that dense dithered images can generate more G-code commands than the controller can process through LightBurn's USB interface, and those jobs failed at random points for me. I use LightBurn for vector work and one-bit engraving, and Beam Studio for dense photos and gradients. FLUX says Ethernet support for LightBurn is planned in a future firmware update.
What materials can the FLUX Beambox II cut and engrave?
In my testing it cut 3mm birch plywood, three-quarter inch pine and 3mm acrylic, including clear acrylic. It engraved wood, acrylic, leather, slate and glass. Leather, slate and glass all worked on the first try.
How long does the Beambox II laser tube last?
FLUX lists an expected tube life of roughly six to twelve months under normal use, and the machine comes with a twelve-month limited warranty. How fast you go through a tube depends on how much you use the machine and how hard you run it. Unlike a diode module, a CO2 tube is a consumable, so plan for replacements.
Do you need safety goggles with the FLUX Beambox II?
The Beambox II is a Class 1 enclosed machine, so you can operate it without additional safety goggles. Opening the lid stops the laser, and there's an emergency stop button on the right side of the machine.
This FLUX Beambox II was provided by FLUX for review. This post contains affiliate links. If you purchase through them, I may earn a small commission at no extra cost to you. All opinions are my own.
See how the FLUX Beambox II compares to the other lasers I've tested