How to Set Up and Calibrate a MOPA Fiber Laser in LightBurn
On this page
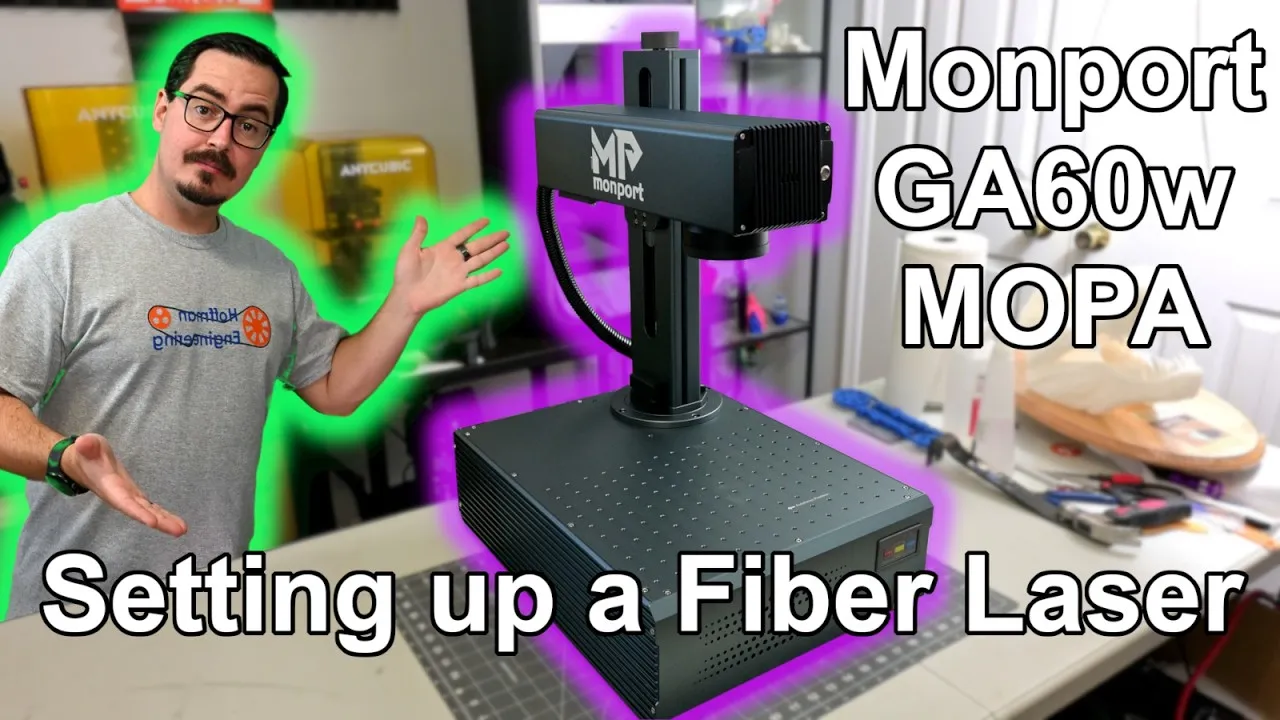
This guide walks through setting up a MOPA fiber laser from crate to first engraving, using the Monport GA60 60W MOPA. You’ll configure it in LightBurn, run material test grids to calibrate your settings, check the scale with a ruler test, and finish with a deep-engraved brass coin. Even on a different galvo fiber laser, the LightBurn calibration steps carry over.
Monport no longer sells the GA 60W. Its product page now redirects to the GA 100W MOPA. For everything else about the machine, see my full Monport GA60 MOPA review.
Uncrating the Fiber Laser
The GA60 doesn’t come in a box. It comes in a wooden crate, and it’s heavy (probably over 100 pounds), so get a second person to help carry it. Find each staple holding the lid, pry it off with a crowbar and hammer, and pull out the foam padding.
The laser head ships attached to the lifting stand, with the stand folded down. With two people, you can lift the laser straight out. On your own, it’s easier to unfold the stand first: raise it, secure it upright with the two included screws, then lift the whole machine out.
That’s the entire assembly. Two screws.
What a MOPA Fiber Laser Can Engrave
The GA60 is a pulsed fiber laser. A pair of galvo mirrors steers the focused beam across your material. It runs at a 1064nm wavelength, which works on almost all metals and plastics. It doesn’t work well on wood or on transparent materials like clear acrylic and glass.
The work area is 175 x 175mm, with a grid of screw holes for the included metal bars that hold and position your parts. The accessories box has those bars, the cables, a USB drive, test cards and safety glasses. Read the manual’s safety section before you start. Laser light can cause permanent eye damage, directly or reflected, so wear glasses rated for that wavelength and know which materials you can and can’t laser safely.
Power, USB and Fume Extraction
Move the laser to its permanent spot, plug in the power cable, and connect the included USB Type-B cable to your computer. Flip the power switch on the back and the laser comes to life.
The GA60 includes everything you need to start engraving, but add one accessory: a fume extractor. It’s a strong fan with a HEPA filter that pulls away smoke, fumes and particles. Even in a well-ventilated shop, it keeps your material cleaner and protects the laser. I use one from OMTech, but Monport’s fume extractors do the same job.
Software Option 1: BSLAppSimple
Monport includes BSLAppSimple, the successor to EZCad, on the USB drive, and you can run it straight from there. Every machine is calibrated at the factory, and its machine-specific config ships on that same drive. The calibration values are also printed on the panel on the side of the laser so you can cross-check them. Launching the included software loads the correct config for your machine automatically.
Software Option 2: LightBurn Setup for a Galvo Fiber Laser
LightBurn needs version 1.7 or newer and a LightBurn Pro license to run the GA60. The 30-day free trial works with every laser, so you can try it first.
- Install LightBurn following its instructions, launch it, and click Devices.
- Turn on the laser, then click Find My Laser. After a few seconds it detects the GA60 as a BSLFiber galvo laser.
- On the next screen, click Import Config and browse to the
BSLAppSimple/configfolder on the USB drive. Pick eitherBslCADorLmcPar.cfgand click Open. You’ll see the full list of imported settings. - Click Next, rename the laser if you like, and confirm the dimensions read 175 x 175mm.
Enable Q-Pulse Width for MOPA Control
One more setting unlocks the MOPA features. Click Edit, then Device Settings, open the Ports and Laser Settings tab, and change Fiber Type to IPG_YLPM. That lets you turn on Enable Q-Pulse Width Setting.
Q-pulse width is what makes a MOPA laser a MOPA laser: it lets you change the pulse duration, which is where the good engravings come from. With that on, LightBurn is fully set up for the GA60.
Material Prep and Autofocus
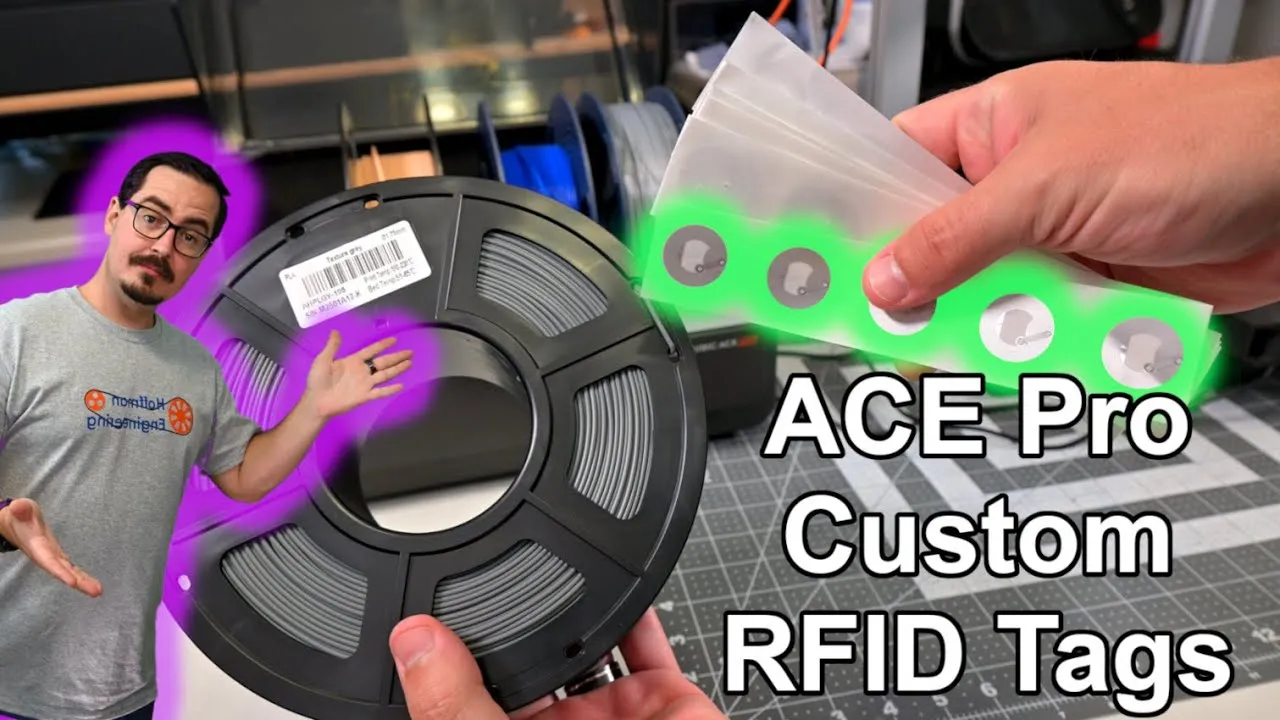
Monport includes 10 coated aluminum test cards in the accessories box, which make good first projects. You can engrave directly on the base plate, but I put a thin piece of wood underneath. The infrared beam doesn’t interact with wood, so an edge-to-edge job like a coin won’t mark the plate. That’s only to keep my base plate clean for filming, so skip it if you like.
The GA60 has autofocus. Place your material over the autofocus spot at the bottom of the work area and press the Focus button on the front. The head moves down, measures the distance to the surface, and sets itself at the right height.
First Engraving on Coated Aluminum
I like to start with a real project and guessed settings. I imported my logo (the text tool and your name works too). For coated aluminum cards on a fiber laser, 1000mm/s is a good starting speed, and coated aluminum doesn’t need much power, so I started at 50%.
The logo took 40 seconds and looked great. But I saw sparks, which meant the laser was cutting into the aluminum itself. The goal was only to remove the coating, so it was time to calibrate.
Calibrating Speed, Power and Frequency With LightBurn Test Grids
LightBurn’s Material Test pattern runs a grid of every combination of two variables you pick. You can build the same grid by hand in BSLAppSimple, but LightBurn makes it much easier. I ran three rounds:
| Round | Fixed settings | Variables tested | What it showed |
|---|---|---|---|
| 1 | 50% power, 0.03mm line interval, 1 pass, 200ns Q-pulse | Speed 1000 to 7000mm/s vs frequency 10 to 2000kHz | 6000mm/s looked good at most frequencies; above 500kHz made little difference |
| 2 | 6000mm/s | Power vs frequency | Below 40% power had problems at this speed; above about 200kHz made little difference |
| 3 | 6000mm/s | Frequency narrowed to 10 to 200kHz | Final settings |
Start by fixing power near the middle and testing speed against frequency. Lock in the best speed, then test power against frequency. Then narrow the frequency range for a final pass.
The settings I landed on for the coated aluminum cards: 50% power, 6000mm/s, and a frequency around 150kHz.
Optimized Results
Running the same logo with the calibrated settings took 14 seconds, down from 40 seconds with my first guess.
Galvo 1 vs Galvo 2: Checking Scale With a Ruler Test
The GA60 manual covers this whole setup in detail, but one step may be wrong. Step 14 has you enter the nameplate’s calibration by hand, with galvo 1 on the nameplate going to galvo 1 in LightBurn and galvo 2 to galvo 2.
When I imported my config, LightBurn had them swapped: galvo 1’s values under galvo 2, and the other way around. I assumed the import was bad and swapped them back to match the manual. That was wrong. LightBurn’s import had it right.
Test this on your own machine. Use Robbb’s ruler generator to make an 8cm ruler, engrave it horizontally to check the X axis, then rotate it vertically to check Y.
With the manual’s 1-to-1 and 2-to-2 settings, the two rulers didn’t match each other or a real ruler. After swapping back to LightBurn’s 1-to-2 and 2-to-1 import, both engraved rulers matched each other and the real ruler. The scale was spot on.
Deep Engraving a Brass Coin in LightBurn
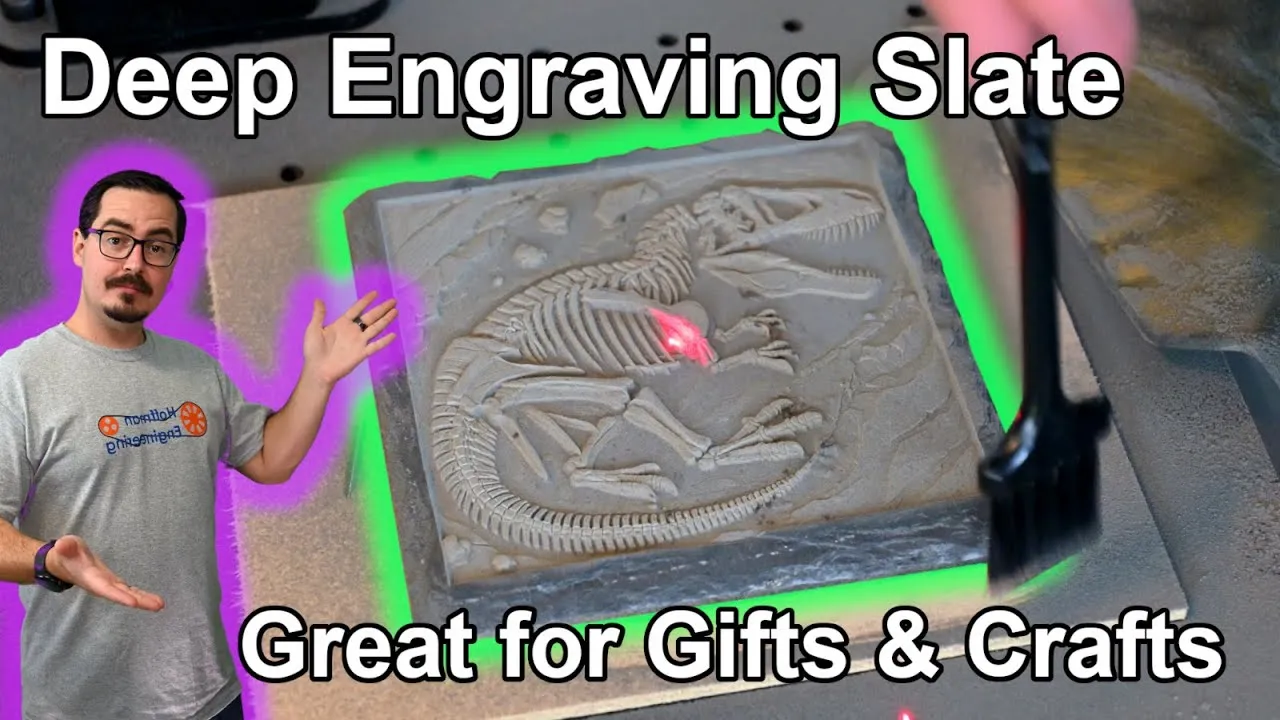
Deep engraving brass coins is one of my favorite fiber laser projects, and LightBurn makes it easy. I find grayscale images on 3D Greyscale (not sponsored). Many are free, though you need an account. Download one and import it into LightBurn.
Set the layer to 3D Slice mode. LightBurn turns the grayscale image into a height map: the darker the pixel, the deeper it engraves. I started with guessed settings.
Place the coin on the work surface, press the autofocus button, put on your safety glasses and turn on fume extraction. Then start the job.
The GA60 took 1 hour and 26 minutes for 256 passes, and the coin came out beautifully. The cleanup pass still needs work: this first attempt left a slightly rose-colored finish. For a first try, it’s a strong result.
This post contains affiliate links. If you purchase through them, I may earn a small commission at no extra cost to you.
FAQ
How do you connect a MOPA fiber laser like the Monport GA60 to LightBurn?
You need LightBurn 1.7 or newer with a Pro license (the 30-day trial works too). Power on the laser, click Devices then Find My Laser, and it shows up as a BSLFiber galvo laser. Import the BslCAD or LmcPar.cfg file from the USB drive's BSLAppSimple config folder, then confirm the 175 x 175mm work area.
How do I turn on MOPA pulse width control in LightBurn?
Open Edit > Device Settings, go to the Ports and Laser Settings tab and change the fiber type to IPG_YLPM. That unlocks Enable Q-Pulse Width Setting, which lets you change the pulse duration on each layer.
What settings work for coated aluminum business cards on a 60W MOPA fiber laser?
On the GA60, 50% power, 6000mm/s and a frequency around 150kHz removed the coating cleanly, with a 0.03mm line interval, 1 pass and a 200ns Q-pulse. A first guess of 50% power at 1000mm/s went through the coating into the aluminum and threw sparks.
Why are galvo 1 and galvo 2 swapped after importing my fiber laser config into LightBurn?
On the GA60, LightBurn's import puts the nameplate's galvo 1 calibration under galvo 2 and the reverse, and that is correct. Swapping them back to match the manual made the scale wrong. Engrave an 8cm ruler horizontally and vertically and compare both to a real ruler to check yours.
How long does it take to deep engrave a brass coin with a 60W fiber laser?
A 3D Slice engraving of a grayscale image took the GA60 1 hour and 26 minutes for 256 passes.