LOKLiK iEngrave Cover Review: Class 1 Safe, Weak Air Assist
A safe, enclosed entry-level 10W laser for hobbyists who mostly engrave. The offset air assist hose leaves soot on deeper wood work and slows reliable cuts.
Check price at AmazonOn this page
If you want a fully enclosed laser engraver without spending a fortune, the LOKLiK iEngrave Cover 10W from HTVRONT is one of the few options near its price. I spent a month testing it on wood, acrylic, slate, leather, coated aluminum and stainless steel. This LOKLiK iEngrave Cover review covers the setup, build, safety features and real engraving results, including the one design choice that holds the whole machine back.
LOKLiK iEngrave 10W Diode Laser Module
The iEngrave uses a 10W diode producing a 455nm visible blue laser. That puts it in the usual diode wheelhouse: wood, leather, stone, black acrylic, coated aluminum and some stainless steel. Because the light is visible blue, it can’t work on transparent materials like glass or clear acrylic.
A cooling fan at the top of the module blows through it to cool the diodes and push smoke away. At the bottom, a protective window blocks laser light while still letting you see the nozzle.
At 10 watts, this is an engraving machine first. It can cut 3mm plywood in a single pass, but thicker material means slowing way down or running multiple passes. If you need to cut thick wood all the time, look at a more powerful laser. If you mostly engrave or cut thin stock, 10 watts is the more economical choice.
Built-In Focus Lever
Focusing is quick. Loosen the screw at the bottom of the module and swing the focus lever down. Then loosen the module, slide it down until the lever rests on your material, and lock it back in place. Swing the lever up and tighten its screw.
The module’s screw has a proper handle and locks in less than half a turn, so it’s one easy motion. And because the focus lever is part of the module, there’s no separate gauge to misplace.
Air Assist: The iEngrave’s Biggest Weakness
The module has an air assist inlet at the top. Hook up a compressor and pressurized air comes out the bottom, which helps cut quality in wood and clears smoke and soot.
The catch is how it delivers that air. Most lasers I’ve tested push air out through the nozzle, straight down onto the cut. The iEngrave uses a hose that points down beside the nozzle, offset from the beam. I believe that makes it far less effective. It beats having no air assist, but I still saw plenty of soot and darkening around edges, especially on deeper wood engravings.
I tried gluing the hose onto the nozzle to fix the angle. It made things worse than the stock hose, so I went back to the original setup.
Class 1 Enclosure and Ventilation
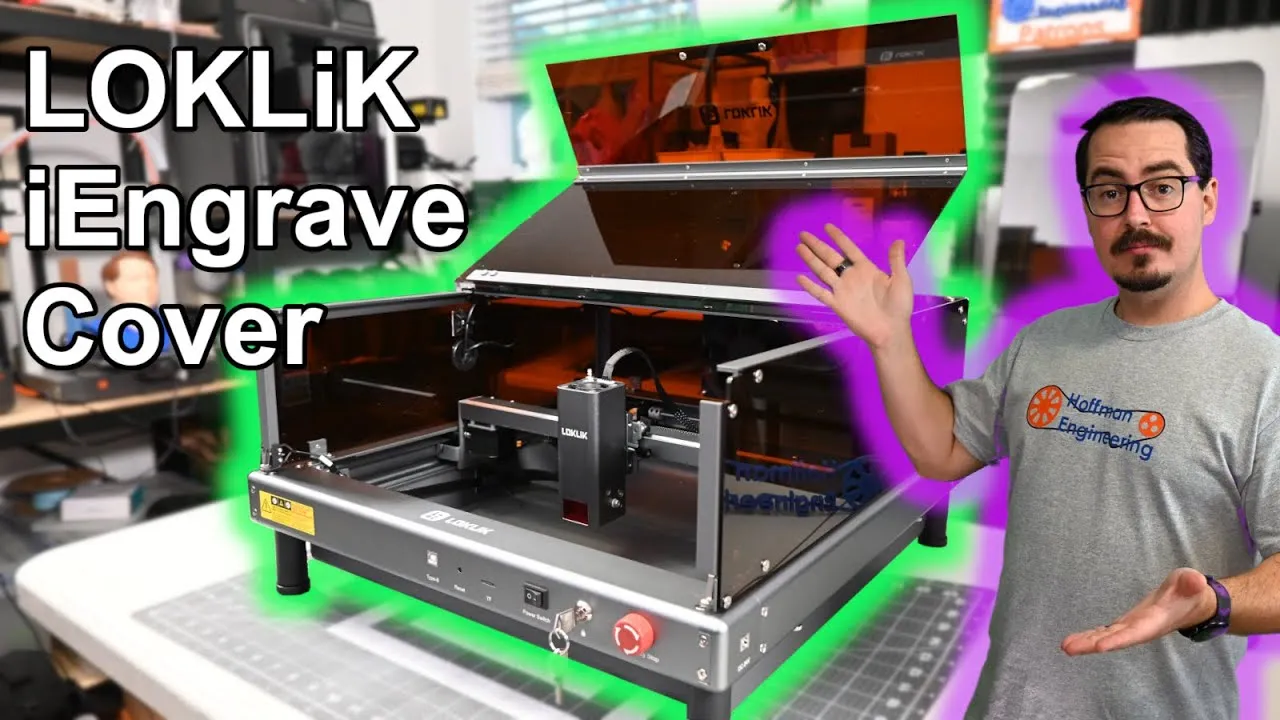
The iEngrave Cover is fully enclosed. The amber polycarbonate lid absorbs the laser light and gives the machine a Class 1 laser certification, so you can run it without extra eye protection. That keeps everyone in the room safe, and it’s my favorite thing about this laser. HTVRONT also includes safety glasses if you’d rather run it without the cover.
The lid hinge feels sturdy, and I never worried about cracking the panels while opening or closing it. A strip of white LEDs at the top of the lid lights the interior. The bottom is enclosed too, so no light escapes underneath.
At the back is a built-in exhaust fan. Paired with the included 5-foot duct, it makes venting smoke and fumes outdoors easy. The fan had plenty of airflow for a 10W laser, and I had no ventilation problems.
Gantry, Work Area and I/O
The gantry is belt driven and rides on rubber V-slot wheels on both axes. Oddly, the Y axis runs along the inside of the frame. Both axes moved smoothly.
The working area is 300 x 300mm, enough to fit a full 12 x 12 inch sheet.
On the front you’ll find a USB Type-B port for your computer, a TF card slot for designs sent from the mobile app, the power switch, a key lockout with two keys and an emergency stop latch. The left side has the Wi-Fi antenna and a power port for the optional air assist compressor.
One oddity: the LED lights and exhaust fan aren’t powered by the laser. Their wires pass through a grommet in the cover and run on a separate switch and power supply. It’s a small inconvenience, but it’s strange.
Safety Features
Two switches watch the lid. Lift it mid-job and the laser pauses in less than a second. Close it and the job resumes right where it left off. There’s also tilt detection that stops the laser if it’s bumped or tipped about 45 degrees.
The module has flame and temperature detection at the bottom. Like most flame sensors on benchtop lasers, it reacts to bright light. I got it to falsely trigger with the laser sitting in direct sunlight. I’ve seen the same from many other brands, but I was surprised the cover didn’t block enough sunlight to prevent it.
What’s Not in the Box
The standard iEngrave Cover kit has no honeycomb panel and no air assist compressor. I used my own for testing, and I’d recommend both for anyone with a laser. You can buy the iEngrave Cover All-In-One bundle with a honeycomb panel, compressor and rotary roller, or add the accessories later as you need them.
Assembly and Setup
The laser arrives mostly assembled. Remove the two shipping brackets on the gantry, add some cable ties, screw on the four feet, slide in the module and plug in the cables.
The cover takes more work. Each side is a separate plastic panel with pre-cut holes, held together with brackets and screws. The grommets, fan and switches come pre-installed. Once the lid is on, you route the cables through the grommet and switch on the light strip.
The whole build took me 40 minutes. The instructions were clear, every panel was labeled, and I love how it looks finished.
LightBurn Support and the LOKLiK App
HTVRONT ships a LightBurn configuration file on the included SD card. Import it and you’re ready to go. I recommend a LightBurn license to anyone with a laser. It handles design, imports, test patterns and every cut and engrave setting you’ll need, and it worked well with the iEngrave Cover.
The iEngrave also has Wi-Fi and works with the LOKLiK app on iOS and Android. My Pixel 7 wouldn’t connect, even with my network switched to 2.4GHz only. My phone connects to lasers like this about half the time, so this may not be the laser’s fault, but it means I couldn’t review the app.
Wood Cutting and Engraving Results
Before you laser anything, know which materials are safe. PVC, for example, gives off dangerous fumes that can hurt you and damage the machine.
In cut speed tests, the iEngrave cut 1/8 inch plywood between 300 and 400mm/min, but not reliably at the top of that range. Sometimes 400mm/min cut clean through. Other times I had to drop to 300mm/min. I think the air assist is the cause. When the cut direction lined up with the hose, it cut near the top of the range compared with other 10W lasers I’ve tested.
My kerf tests measured a 0.06mm kerf offset, which points to a well-focused beam for a 10W laser.
A living hinge cut cleanly at 300mm/min. But look at the engraved letters on it and you’ll see soot angled away from where the hose sits. That darkening around cuts and engravings showed up across my wood tests.
Photo engraving was a bright spot. Pictures of my dog Jack at 6,000 and 10,000mm/min came out clean with nice contrast.
Black Acrylic, Slate and Leather
Black acrylic was a pleasant surprise. The iEngrave left a crisp white surface engraving on 3D Print Log keychains. My first cut didn’t make it through, but two passes at 250mm/min cut the 3mm sheet.
Slate coasters are a favorite of mine, and the iEngrave handled them perfectly, with a very bright, high-contrast white engraving.
I expected darkening on leather bracelets, but the iEngrave gave a clean, consistent engraving with no soot around the edges.
Coated Aluminum and Stainless Steel
Coated aluminum business cards worked well. The coating came off cleanly. There’s a slight misalignment between the fill and the outline of the letters, which I think came from the card shifting because I didn’t secure it well enough.
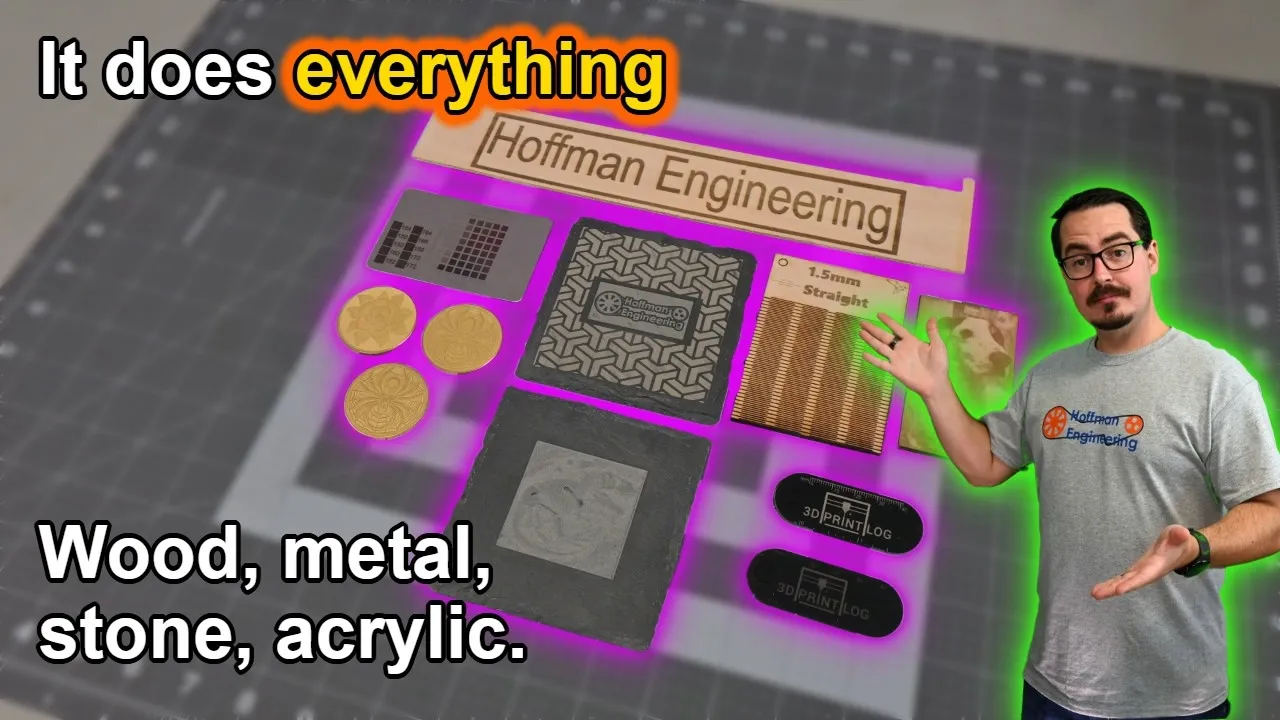
On stainless steel, adjusting power and line interval produced color oxides in blues, browns, oranges and blacks. A diode laser can’t cut or engrave bare metal. It color marks the surface with these oxides instead, and the results look great.
LOKLiK iEngrave Cover Price and Bundles
At recording, the iEngrave Cover was on sale for $595. The All-In-One Kit, with the Cover, honeycomb panel, air compressor, rotary roller and riser kit, was $765, and the iEngrave without the cover was $425. HTVRONT runs frequent sales, so check the current price before buying.
If you want the rotary roller too, the All-In-One kit gets you all three accessories at a good price. If you don’t need the rotary, buying a honeycomb panel and compressor separately can save you a few dollars.
Verdict: Should You Buy the LOKLiK iEngrave Cover?
The LOKLiK iEngrave Cover is a capable entry-level laser that slightly misses the mark. The full enclosure keeps you and everyone around you safe from the beam, and the built-in fan makes it easy to vent smoke outside. It came mostly assembled, the cover went together easily, and I was engraving in no time.
But the offset air assist holds the 10W module back. I had to slow cuts down to get reliable results in every direction, and it doesn’t clear soot from deeper engravings well. I also wish the ads didn’t show it running in the middle of a living space. It needs to vent outside or through a properly rated air purifier. The cover and duct make that easy, but the marketing doesn’t stress it.
This makes the most sense for a hobbyist who wants an enclosed laser and mostly engraves. If you can live with some darkening on deeper wood work, the air assist issue won’t matter much, and there aren’t many fully enclosed options near this price. Plan on a honeycomb panel and an air assist compressor to get the most out of it.
Check the latest price on the LOKLiK iEngrave Cover All-In-One bundle
Pros and cons
✓ Pros
- Fully enclosed with a Class 1 certification, so no extra eye protection needed
- Built-in exhaust fan and 5-foot duct make venting outdoors easy
- Lid switches pause the laser in under a second and resume when closed
- Built-in focus lever is quick and there's no separate tool to lose
- Clean photo engraving at 6,000 and 10,000mm/min
- Bright, high-contrast results on slate, plus good leather and black acrylic results
- 0.06mm kerf offset in testing, a well-focused 10W beam
- Clear instructions and labeled panels. Assembly took 40 minutes
✗ Cons
- Air assist hose is offset from the nozzle, leaving soot around cuts and deeper engravings
- Cut speeds through 1/8 inch plywood were inconsistent, so reliable cuts meant slowing to 300mm/min
- Standard kit has no honeycomb panel or air assist compressor
- Flame detection falsely triggered in direct sunlight, even with the cover on
- LED lights and exhaust fan run on a separate switch and power supply
- The LOKLiK app couldn't connect to my Pixel 7, so I couldn't test it
Specs
| Laser Power | 10W diode |
|---|---|
| Wavelength | 455nm (visible blue) |
| Working Area | 300 x 300mm (fits a 12 x 12 inch sheet) |
| Kerf Offset (tested) | 0.06mm |
| Cut Speed (tested) | 300 to 400mm/min through 1/8 inch plywood, reliable at 300mm/min |
| Enclosure | Amber polycarbonate lid, Class 1, built-in exhaust fan and 5 ft duct |
| Air Assist | Inlet on the module with an offset hose. Compressor not in the standard kit |
| Software | LightBurn (config file on the included SD card), LOKLiK app |
| Connectivity | USB Type-B, TF card, Wi-Fi |
| Safety | Lid switches, tilt detection, flame detection, key lockout, emergency stop |
Where to buy
- LOKLiK iEngrave Cover All-In-One Bundle (Honeycomb, Air Assist, Rotary)Check price →
- LOKLiK iEngrave Cover + Honeycomb BedCheck price →
- LOKLiK iEngrave Cover + Air AssistCheck price →
- LOKLiK iEngrave Cover + RotaryCheck price →
- LOKLiK iEngrave Cover (HTVRONT store)Check price →
Prices may have changed since this review.
FAQ
Is the LOKLiK iEngrave Cover worth it?
It makes the most sense for a hobbyist who wants a safe, fully enclosed laser and does mostly engraving. The Class 1 enclosure and built-in ventilation are its strengths. If you do a lot of cutting or deep wood engraving, the offset air assist holds it back, with soot around edges and slower reliable cut speeds.
Do you need safety glasses with the LOKLiK iEngrave Cover?
Not with the cover installed. The amber polycarbonate lid gives it a Class 1 laser certification, so you can run it without extra eye protection. HTVRONT includes a pair of safety glasses for anyone who runs it without the cover; make sure any glasses you use are rated for the 455nm wavelength.
How thick can the LOKLiK iEngrave cut?
In my tests it cut 1/8 inch plywood at 300 to 400mm/min, but only reliably at 300mm/min. It cut 3mm black acrylic in two passes at 250mm/min. For thicker wood you'll need to slow down a lot or run multiple passes.
Does the LOKLiK iEngrave work with LightBurn?
Yes. HTVRONT puts a LightBurn configuration file on the included SD card. Import it and you're ready to engrave. It worked well with the iEngrave Cover in my testing.
What materials can the LOKLiK iEngrave engrave?
I got good results on wood, black acrylic, slate, leather, coated aluminum cards, and color oxide marks on stainless steel. Like any blue diode laser, it can't directly cut clear acrylic, and bare glass usually needs a coating.
This LOKLiK iEngrave Cover was sent to me for review by HTVRONT. They didn't pay for this review. This post contains affiliate links. If you purchase through them, I may earn a small commission at no extra cost to you. All opinions are my own.
See how the LOKLiK iEngrave Cover 10W compares to the other lasers I've tested