AlgoLaser DIY MK2 Hands-On Review: 10W Laser Under $300
An entry-level 10W diode laser for beginners who want fast cuts, fine focus and a touch screen that runs projects without a computer. Budget extra for a honeycomb panel and an air assist compressor.
Check price at AmazonOn this page
The AlgoLaser DIY Kit MK2 is a 10W diode laser engraver that sold for $299 when I recorded this review, and it cut 3mm plywood at 350mm/min, one of the fastest results I’ve seen from a 10-watt laser. It can also build and run a project from its own touch screen, no computer needed. In this AlgoLaser DIY MK2 review I cover the hardware, the AlgoOS touch screen, the mobile app and my test results on six materials after a month of use.
Three Power Levels and a 455nm Diode
The DIY MK2 comes in three versions: 5W, 10W and 20W. I tested the 10W model, and you can step up or down depending on how much cutting you plan to do.
All three use a diode that puts out 455nm visible blue light. That wavelength is at home on wood, dark acrylics, slate and leather. It won’t work on clear or transparent materials like clear acrylic or glass, so keep that in mind if acrylic signs are on your list.
Laser Module and Air Assist
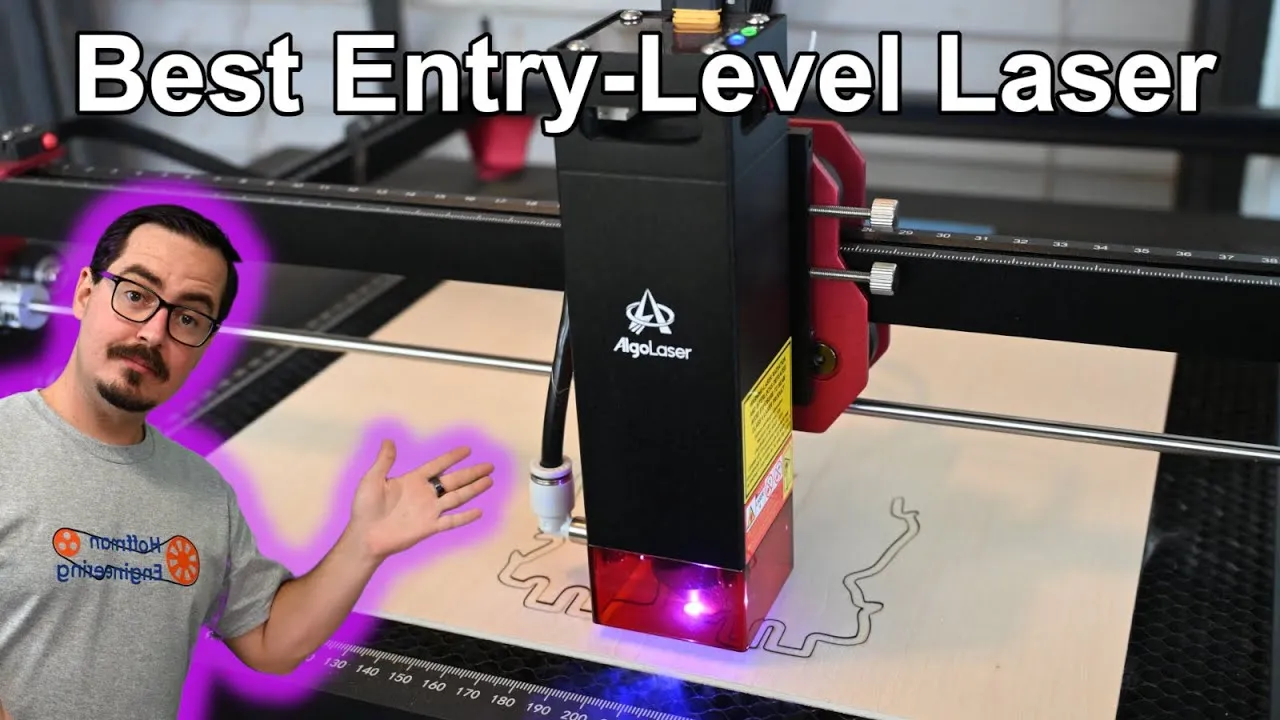
The module has its cables and LED status lights on top. A fan underneath blows through the module to cool the diodes and push smoke and soot away. At the bottom sits a transparent red cover that blocks reflected laser light while still letting you see the beam area.
There’s no separate positioning light. You line up jobs by eye using the nozzle, which helps that it sits right in the middle of the module. The cover is magnetic, so pulling it off to clean it and the lens is easy.
The 10W version ships with the air assist nozzle already installed. Air assist pushes compressed air through the nozzle, which improves cutting on wood and keeps cut edges cleaner. But the machine-only kit doesn’t include a compressor. I used my own, and I consider air assist essential. If you run without one, take the nozzle off so you don’t damage the lens.
Gantry, Frame and Work Area
The gantry is extruded aluminum, with belt-driven X and Y axes riding on rubber V-slot wheels. My favorite detail: the Y-axis motor turns a rod that runs the full width of the machine, so both sides are belt driven. That prevents the racking and skew you sometimes see on entry-level lasers.
Two endstops home the laser to the front-left corner.
The work area is 400 x 435mm. With the optional extension kit, it grows to 400 x 880mm.
Assembly took me about 40 minutes. The instructions walk through each step: screw the frame together, slide on the pre-assembled X gantry, thread the belts, attach the front panel with a couple of screws and plug in the cables.
AlgoOS Touch Screen: Design Without a Computer
The touch screen is the star of this laser. It’s a 3.5-inch full-color panel running AlgoOS, and the interface is slick. Besides jogging the laser, it lets you create designs right on the machine.
Built-in sample projects are ready to go. Pick your material thickness and laser power, and it handles the rest. A “tree man” project cut perfectly without the laser ever touching my computer.
Most lasers can work offline by running a G-code file from an SD card. AlgoOS goes further and accepts almost any file type. Put a photo on a USB drive or the internal SD card and adjust the engraving settings on screen. Drop an SVG on the card and cut it from the touch screen. For a beginner that’s a very friendly workflow, and I was impressed by how flexible it is.
The I/O sits on the left side of the control panel: a USB-A port for a drive, USB-C for a computer, an I/O port for accessories and the 24V power input.
LightBurn and the AlgoLaser Mobile App
Over USB-C, the DIY MK2 works with any GRBL-compatible software, including LaserGRBL and LightBurn. The manual is light on how to install the software but does walk through the settings the MK2 needs. I did most of my testing in LightBurn, and I think it’s worth the license for anyone with a laser.
AlgoLaser also has a mobile app for iOS and Android, and it’s as easy to use as the touch screen. Connect to the laser over your Wi-Fi network and you can create designs, adjust settings and start jobs from your phone. A lobster design cut easily, and a photo of me came out well even with the power set slightly too high.
One quirk tripped me up. After a job finishes, its end position becomes the new 0,0 origin, so the next design doesn’t frame where you expect. Pressing home doesn’t fix it; you have to home and then press reset. Once you know, it’s a small thing.
Cutting and Engraving Wood
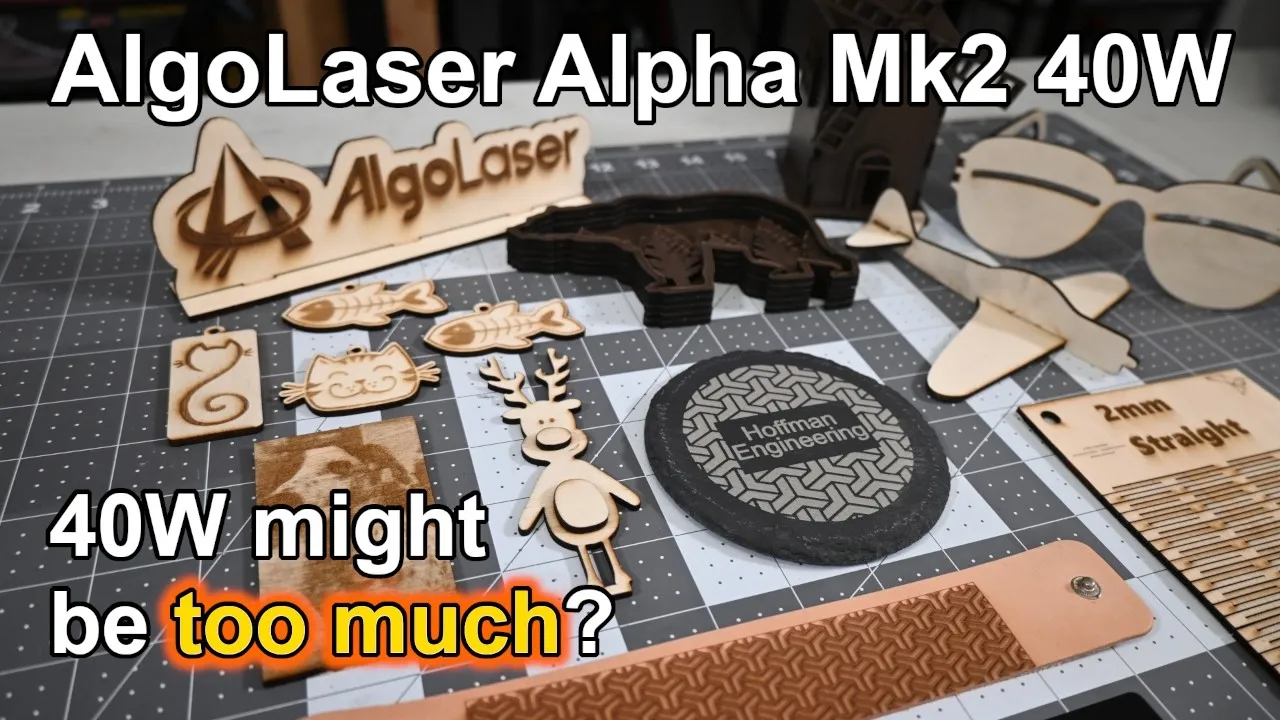
Wood is where diode lasers earn their keep, and settings were easy to dial in. With air assist, the DIY MK2 cut 3mm plywood at 350mm/min, which makes it one of the fastest-cutting 10W lasers I’ve tested.
The beam is also tightly focused. My kerf tests showed an offset of only 0.05mm. That small dot helps cutting and makes engravings sharper. A photo of my dog Jack came out great.
A living hinge cut straight from an SVG on the SD card also turned out well, with accurate cuts and very little darkening around the edges.
Black Acrylic, Slate and Leather Results
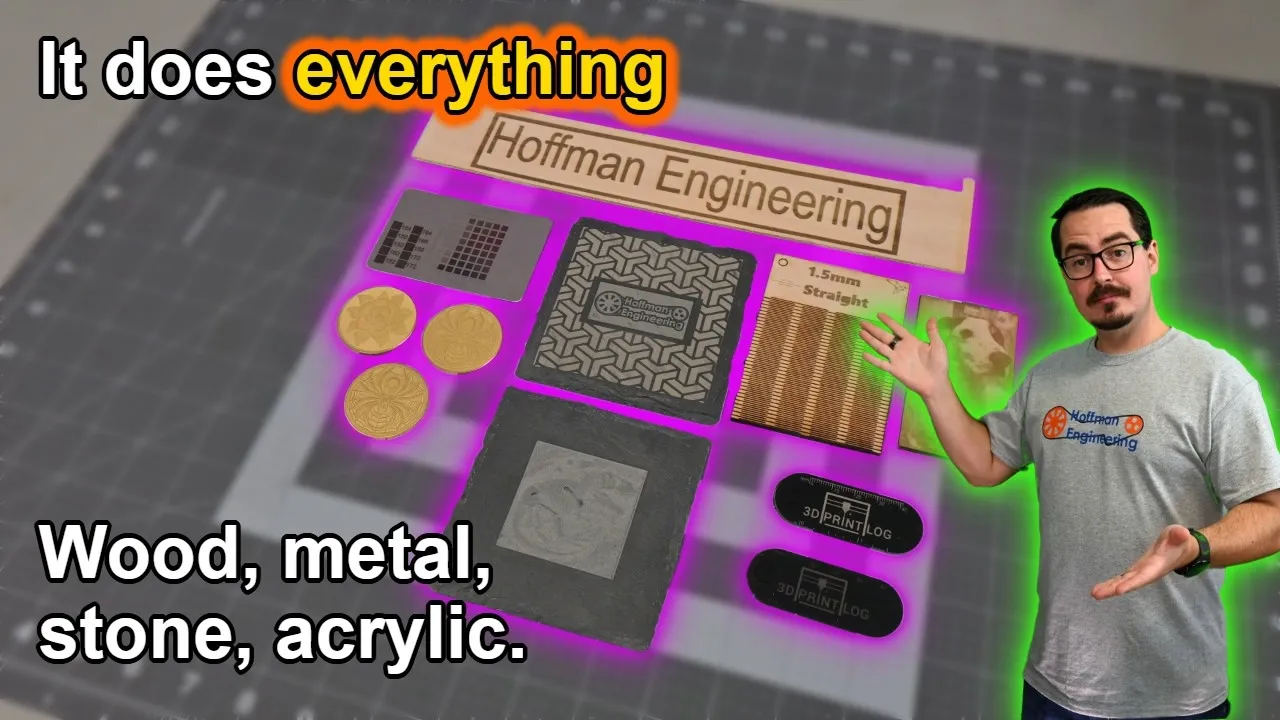
A blue diode can’t cut clear acrylic, but it does well on opaque colors. A 3D Print Log keychain in 3mm black acrylic came out with a high-contrast white engraving and clean edges, cut at 300mm/min in 2 passes.
I’m a big fan of slate coasters, and the DIY MK2 did an excellent job on my slate tests.
Leather went equally well. With air assist, the pattern engraved cleanly with no darkening at the edges.
Coated Aluminum and Stainless Steel Color Marking
The laser can’t engrave bare aluminum, but it removes coatings. A coated aluminum business card came out with great accuracy at a decent speed.
On stainless steel, the DIY MK2 color marks with oxide colors. By varying power and line interval, I got blues, purples and oranges on a stainless business card.
Issues I Ran Into
Two problems came up during testing.
First, no USB drive is included, and none of the four I had on hand were recognized, even after a fresh FAT32 format. To test the touch screen design features I used the laser’s “virtual USB” mode, which lets your computer treat the USB cable as a drive. It’s a clever feature, but it undercuts the point of running without a computer.
Second, the “start from current position” job origin threw out-of-bounds errors. I like to jog the laser to where the job should start and run from there. With the origin set to a middle or top position, the laser refused, likely because software limits keep the head inside the work area. My workaround was to move the head toward the middle with LightBurn first, after which the workflow ran.
Accessories You’ll Want to Budget For
The DIY MK2 doesn’t come with a honeycomb panel or a metal sheet to protect your bench. I recommend buying a honeycomb panel. It gives you a stable cutting surface and room for air under the material. I used my own for every test.
Beyond the compressor and honeycomb, AlgoLaser sells rotary chucks and rollers for round and cylindrical objects, a camera that shows your work area in LightBurn, and a smart enclosure with a camera, lighting and a built-in exhaust fan. You can start with the machine and add these as you need them, and AlgoLaser sells several of them as discounted bundles on its DIY MK2 product page.
Verdict: Should You Buy the AlgoLaser DIY MK2?
The AlgoLaser DIY Kit MK2 impressed me. Its cut speed is excellent for a 10W diode, and the finely focused beam drives both that speed and its engraving detail. AlgoOS is the standout: creating and running whole projects from the touch screen sets it apart from other entry-level lasers. The USB drive problem takes some shine off that, but the mobile app is as easy to use, and LightBurn is there for more involved work.
Pricing: the 10W version was on sale for $299 when I recorded this in March 2025. AlgoLaser’s store now lists the 10W machine at $289. At recording, the honeycomb panel was $99 and the air assist compressor $79, and I’d buy both. Even with those added, it’s a low price for a 10W diode laser.
If you want to try laser engraving and need a solid starter machine that won’t break the bank, the DIY MK2 is one I can recommend. Check the latest price of the AlgoLaser DIY MK2 10W on Amazon.
Pros and cons
✓ Pros
- One of the fastest-cutting 10W lasers tested, 3mm plywood at 350mm/min with air assist
- Tightly focused beam with a 0.05mm kerf offset, for accurate cuts and detailed engravings
- AlgoOS touch screen creates and runs projects from photos and SVG files without a computer
- Mobile app for iOS and Android is easy to use for designing and starting jobs
- Y-axis motor drives both sides through a full-length rod, which prevents racking
- Easy assembly with clear instructions, about 40 minutes
- Large range of optional accessories, from rotaries to a smart enclosure with a camera
- Good results on wood, black acrylic, slate, leather, coated aluminum and stainless steel colors
✗ Cons
- Machine-only kit has no air assist compressor (about $79 at recording)
- No honeycomb panel or bed included (about $99 at recording)
- None of four USB drives were recognized, even after a fresh FAT32 format
- Start from current position throws out-of-bounds errors with a middle or top origin
- Mobile app keeps the last job's end point as the new origin until you home and reset
- No separate positioning light, so you line up jobs by eye using the nozzle
Specs
| Laser Power | 10W diode (also sold in 5W and 20W versions) |
|---|---|
| Wavelength | 455nm (visible blue) |
| Work Area | 400 x 435mm (400 x 880mm with the optional extension kit) |
| Kerf Offset (tested) | 0.05mm |
| Cut Speed (tested) | 3mm plywood at 350mm/min with air assist |
| Air Assist | Nozzle installed on the 10W version; compressor sold separately |
| Controls | 3.5-inch color touch screen running AlgoOS, plus iOS and Android app |
| Software | LightBurn, LaserGRBL or any GRBL-compatible software |
| Connectivity | USB-C to a computer, USB-A drive, internal SD card, Wi-Fi (mobile app) |
Where to buy
- AlgoLaser DIY Kit MK2 10W (Amazon)Check price →
- AlgoLaser DIY Kit MK2 10W, machine only (AlgoLaser store, bundles and accessories)$289 →
- AlgoLaser DIY Kit MK2 5W (Amazon)Check price →
- AlgoLaser DIY Kit MK2 20W (Amazon)Check price →
Prices may have changed since this review.
FAQ
Is the AlgoLaser DIY MK2 worth it?
For someone who wants to try laser engraving without spending much, yes. The 10W version cut 3mm plywood at 350mm/min and its touch screen can run whole projects without a computer. Plan on adding a honeycomb panel and an air assist compressor, which the machine-only kit doesn't include.
What materials can the AlgoLaser DIY MK2 cut and engrave?
It worked well on wood, opaque black acrylic, slate, leather, coated aluminum and stainless steel, where it produced blues, purples and oranges. Like other blue diode lasers, it can't directly cut clear acrylic, and clear or transparent materials such as glass don't work. On aluminum it removes coatings rather than engraving bare metal.
How fast does the AlgoLaser DIY MK2 cut?
With air assist, the 10W version cut 3mm plywood at 350mm/min and 3mm black acrylic at 300mm/min in 2 passes. Kerf tests showed an offset of only 0.05mm.
Does the AlgoLaser DIY MK2 work with LightBurn?
Yes. It works with LightBurn, LaserGRBL and other GRBL-compatible software over USB-C. The manual covers the settings the MK2 needs, though its software installation steps are sparse.
Does the AlgoLaser DIY MK2 include air assist?
The 10W version comes with the air assist nozzle installed, but the machine-only kit doesn't include a compressor. If you run it without air, remove the nozzle so you don't damage the lens.
This AlgoLaser DIY Kit MK2 was provided by AlgoLaser for review. This post contains affiliate links. If you purchase through them, I may earn a small commission at no extra cost to you. All opinions are my own.
See how the AlgoLaser DIY Kit MK2 10W compares to the other lasers I've tested